- By Remodel Works
- In Blog
Popcorn Ceiling Removal Guide
How to Remove a Popcorn Ceiling
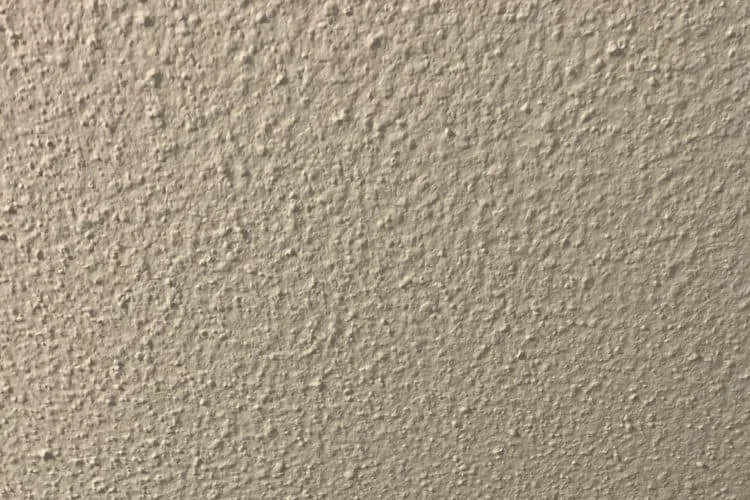
Popcorn ceilings were a popular home decoration design dating back to the early 1970’s, and many modern homes still have them lingering around from days past. With changes in interior design tastes, popcorn ceilings have fallen out of favor for many homeowners. You may be one of these people who wants to get rid of a popcorn ceiling in order to bring your home into the modern age, but you may also be thinking it’s expensive to remove popcorn ceiling.
Truthfully, having a popcorn ceiling removed can be quite expensive. The cost to have one professionally removed can cost anywhere from $1 a square foot to $3 a square foot. That may not seem like a lot, but for larger homes, that can drive the cost of removal well above $1000. Luckily, removing a popcorn ceiling is a great DIY project if you’ve got the time and a few pointers before starting.
Getting the Tools Together
To start removing your popcorn ceiling, first you’ll need to gather the tools you are going to use. You’ll need a drop cloth to protect your floor, plastic sheeting and painter’s tape to protect walls, protective glasses and a respirator for your safety, a ceiling scrapper, and a chemical paint remover if your popcorn ceiling has been painted. All of these supplies can be found at your local hardware store.
Next, you’ll need to prepare your room for removing the popcorn ceiling. It’s important to uninstall any light fixtures, fans, or smoke detectors that may be on your ceiling so you can thoroughly remove the ceiling texture. After removing fixtures from the ceiling, consider moving any furniture on the ground and walls to a different room while you work.
After clearing the room, tape up your plastic sheeting to the wall. Make sure to cover as much as you can so cleanup is easier. Next, cover your floor with a drop cloth. You can use a little painter’s tape to help secure it to baseboards or directly to the bottom of your plastic sheeting. It’s possible that you’ll need to remove paint on your ceiling before removing the popcorn ceiling. In that case, follow the instructions on the back of the chemical paint remover to ensure it works correctly. After the paint is removed, you can begin to scrape the popcorn ceiling with your removal tool. While doing this, make sure to be gentle so you don’t gouge your ceiling. If you come into any tough areas, you can spray warm water on the problem area to loosen up the material. Just make sure not to douse the area.
After you’re finished with removal, cleanup should be relatively easy if you’ve taken the proper precautions. You may need to finish the drywall on your ceiling if it has been damaged during the removal process or the popcorn ceiling was hiding defects underneath it. Once you repair the ceiling, you are ready to paint it any color you wish.


